
How to Choose an Excavator Attachment for Your Task and Terrain
The right excavator attachment is the one that suits both the task and the machine, not necessarily the largest or most powerful option. When choosing the right excavator attachment, match buckets to digging and grading, augers to vertical drilling, and hydraulic breakers to concrete, rock and other hard materials. The excavator’s hydraulic flow and pressure, lifting capacity, operating weight and coupler compatibility all affect your choice.
It’s easy to focus on the task alone, but ground conditions and machine compatibility matter just as much. A bucket suited to loose sand may perform poorly in compact clay, while an attachment that’s too large or too small can reduce performance and place unnecessary strain on the excavator.
This guide explains how to assess the task, ground conditions and machine before selecting an attachment. You’ll learn what to consider for trenching, earth removal, drilling post holes and demolition, so you can choose equipment that suits the work and operates efficiently.
Table of Contents
Hydraulic breakers for demolition
Match a hydraulic breaker to the excavator’s hydraulic system, size and coupler before demolition starts. The right fit helps the breaker work effectively on concrete and rock without placing unnecessary strain on the machine.
Match breaker size to excavator flowChoose a breaker designed for your excavator’s operating weight and auxiliary hydraulic flow. The breaker needs the correct flow to deliver impact effectively. A mismatch can lead to poor performance or overheating. Compare the excavator’s specifications with the breaker’s stated requirements instead of relying on machine size alone. An attachment suited to one excavator may not suit another with different hydraulic output or lifting capacity.
Check hydraulic pressure and return requirementsCompare the excavator’s available hydraulic pressure and flow with the breaker’s operating requirements. Check the return arrangement too, including whether the attachment requires a particular return line. These details affect how hydraulic oil moves through the attachment and back to the machine. Matching flow alone isn’t enough: incorrect pressure or return compatibility can cause inefficient operation and excessive heat.
Confirm quick-hitch and coupler compatibilityCheck the breaker’s pin dimensions and coupler fit against the excavator’s quick hitch before fitting it. A mechanical quick hitch uses a manual locking method, while a hydraulic quick hitch uses hydraulic actuation to secure the attachment. Compare the hitch type, pin size and attachment geometry with the breaker’s specifications. An incompatible or incorrectly fitted attachment can perform poorly, wear unnecessarily or create safety concerns, including the risk of it coming loose.
Break concrete and rockUse a hydraulic breaker to fracture hard materials such as concrete and rock. The excavator’s auxiliary hydraulic system powers the breaker, turning the machine into a demolition tool. For a concrete slab or rock obstruction in a trench, choose a breaker matched to the machine and material, then work through the target in a controlled sequence. Don’t assume a standard breaker will provide enough force for reinforced concrete. The material and reinforcement affect which attachment is suitable. Use a digging bucket to move loosened material, rather than using the breaker for trenching or general excavation.
Before hiring a hydraulic attachment, compare the excavator’s hydraulic flow and operating pressure with the attachment’s requirements. Hydraulic breakers, vibro hammers, grapples, compactors and demolition shears need suitable flow and pressure to operate efficiently. Matching these specifications helps prevent overheating. Also confirm compatibility with the machine’s hydraulic power, lifting capacity and boom length. Concrete structures are best handled with demolition shears or breakers.
How to choose the right excavator attachments?
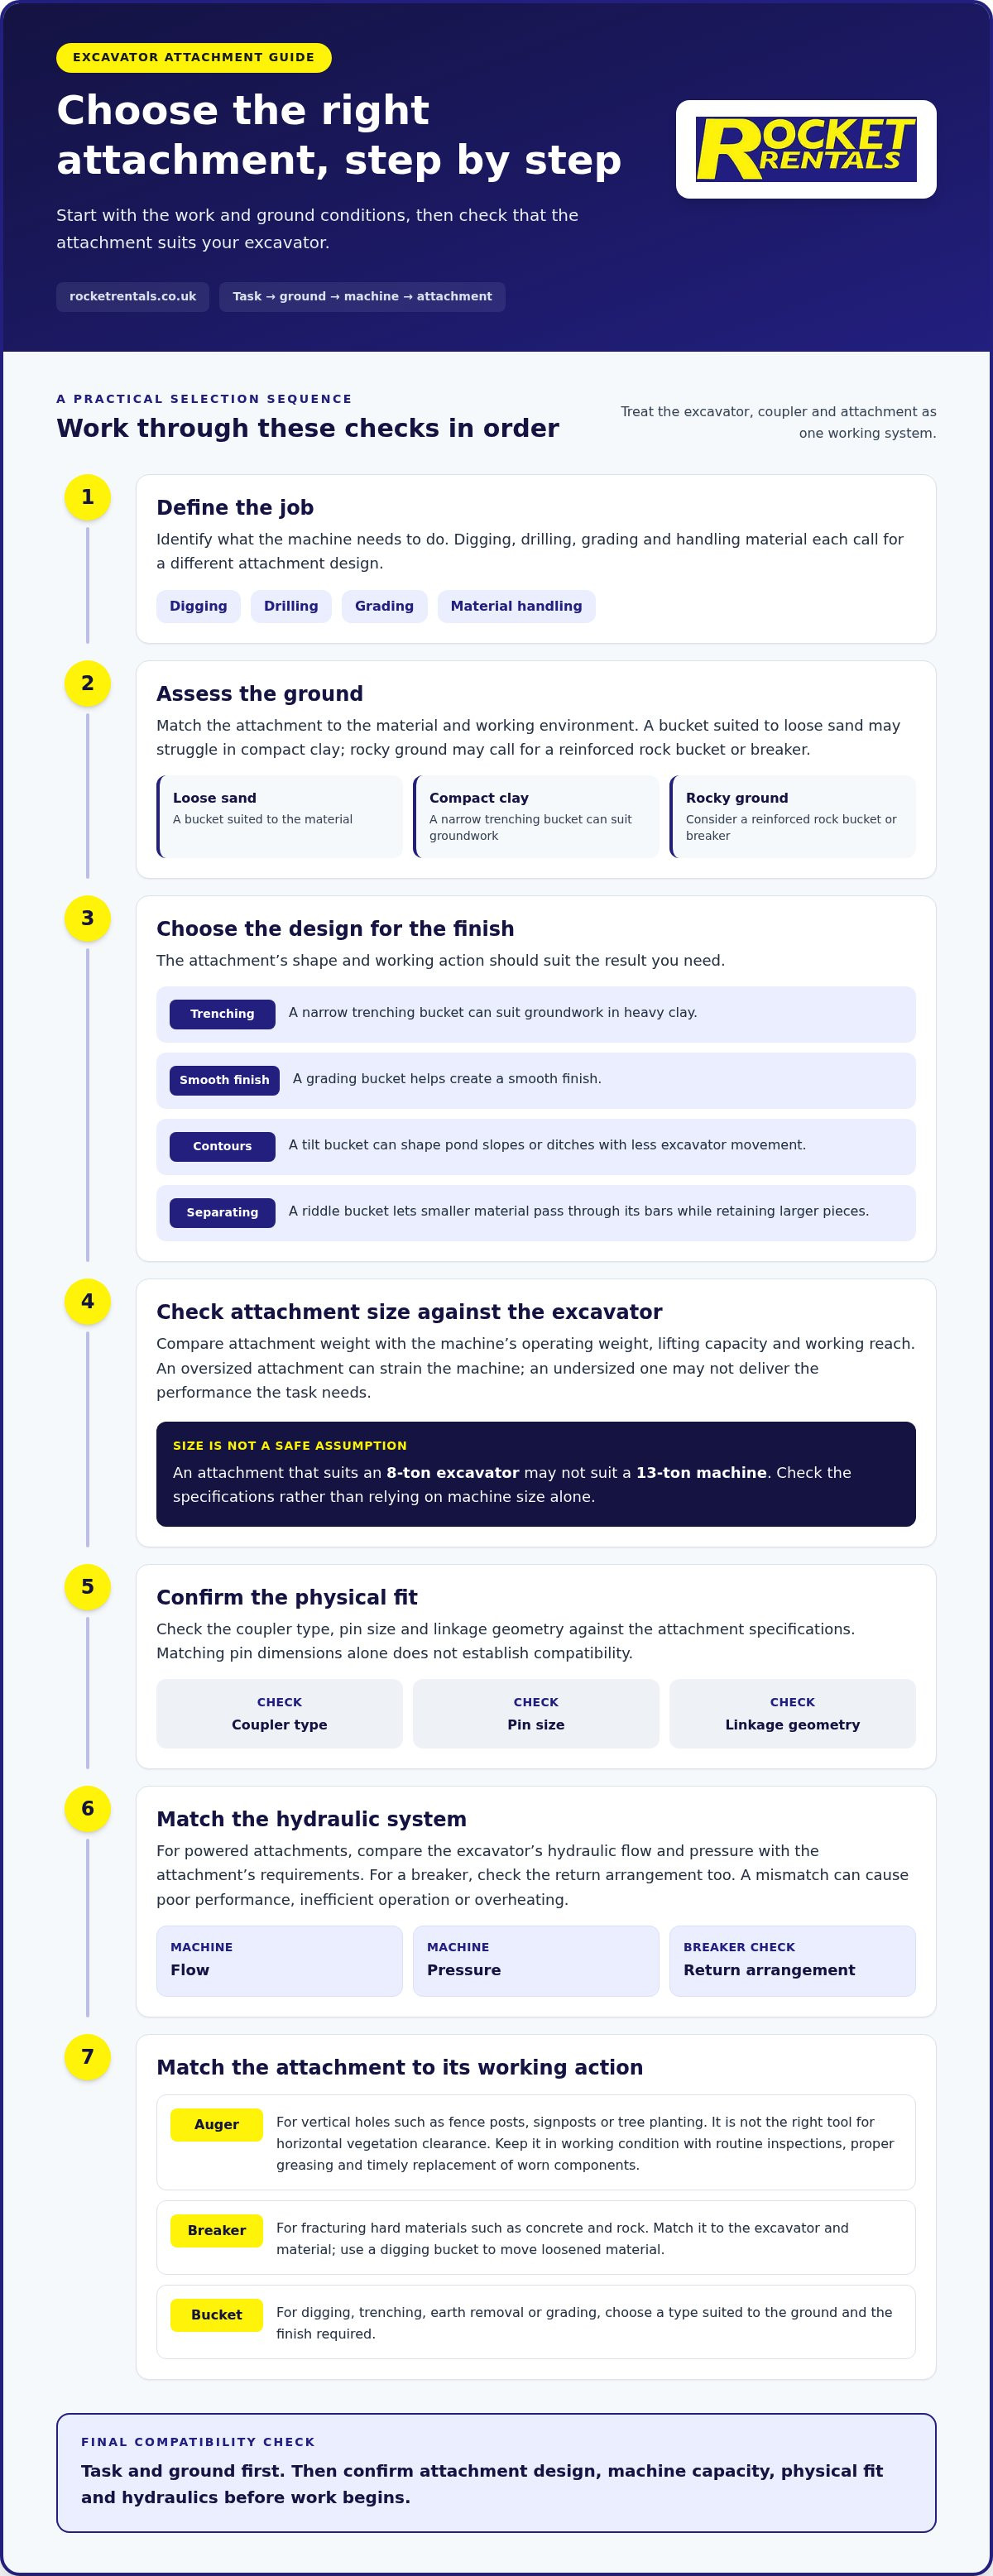
Choosing the right excavator attachment starts with the task, ground conditions and machine specifications. Assess each in turn to narrow your options and avoid a mismatch that affects performance or causes unnecessary wear.
Match the attachment to the applicationStart by identifying the job: digging, drilling, grading or handling material calls for a different attachment design. Then assess the ground and working environment. A bucket suited to loose sand may struggle in compact clay, while rocky ground may call for a reinforced rock bucket or breaker. Match the tool to the material and required finish, rather than expecting one attachment to handle every task efficiently.
Check attachment size against excavator specificationsCompare attachment weight with the excavator’s operating weight, lifting capacity and working reach. An attachment that suits an 8-ton excavator may not suit a 13-ton machine. An oversized attachment can strain the machine, whilst an undersized one may not deliver the performance the task needs. Include coupler type, pin size and linkage geometry in your compatibility check, as these affect how the attachment connects and works.
Match attachment design to the taskChoose the attachment’s shape and working action to suit the job. A narrow trenching bucket can suit groundwork in heavy clay, while a grading bucket helps create a smooth finish. For pond slopes or ditches, a tilt bucket can shape contours with less excavator movement. If you need to separate stones from soil, a riddle bucket lets smaller material pass through its bars while retaining larger pieces.
Check hydraulic specifications as well as physical fit, particularly for powered attachments. Hydraulic flow and pressure must suit breakers and compactors, and attachment weight must be within the machine’s lifting capacity. Treat the excavator, coupler and attachment as one working system. Matching pin dimensions alone doesn’t establish compatibility. A poor match can cause weak performance, unnecessary wear or safety concerns.
Match an auger to the excavator’s hydraulic specifications and the drilling task, such as fence posts, signposts or tree planting. Its corkscrew design drills vertically, so it isn’t the right tool for horizontal vegetation clearance. Keep augers in working condition with routine inspections, proper greasing and timely replacement of worn components. Correct matching and maintenance can help a quality auger last many years.
Use a repeatable process when choosing the right excavator attachment: identify the task, assess the ground, then compare machine and attachment specifications. This helps you plan for each stage without relying on one bucket or breaker for every job. If you’re planning work that needs a matched machine and attachment, review excavator attachment options as part of your equipment planning.
Choosing digging buckets for trenching, earth removal and pond shaping
Choose a bucket type to suit the task and soil, then match its weight and dimensions to the excavator’s capacity and reach. For example, use a narrow trenching bucket for a defined trench and a grading bucket when you need a smooth finish.
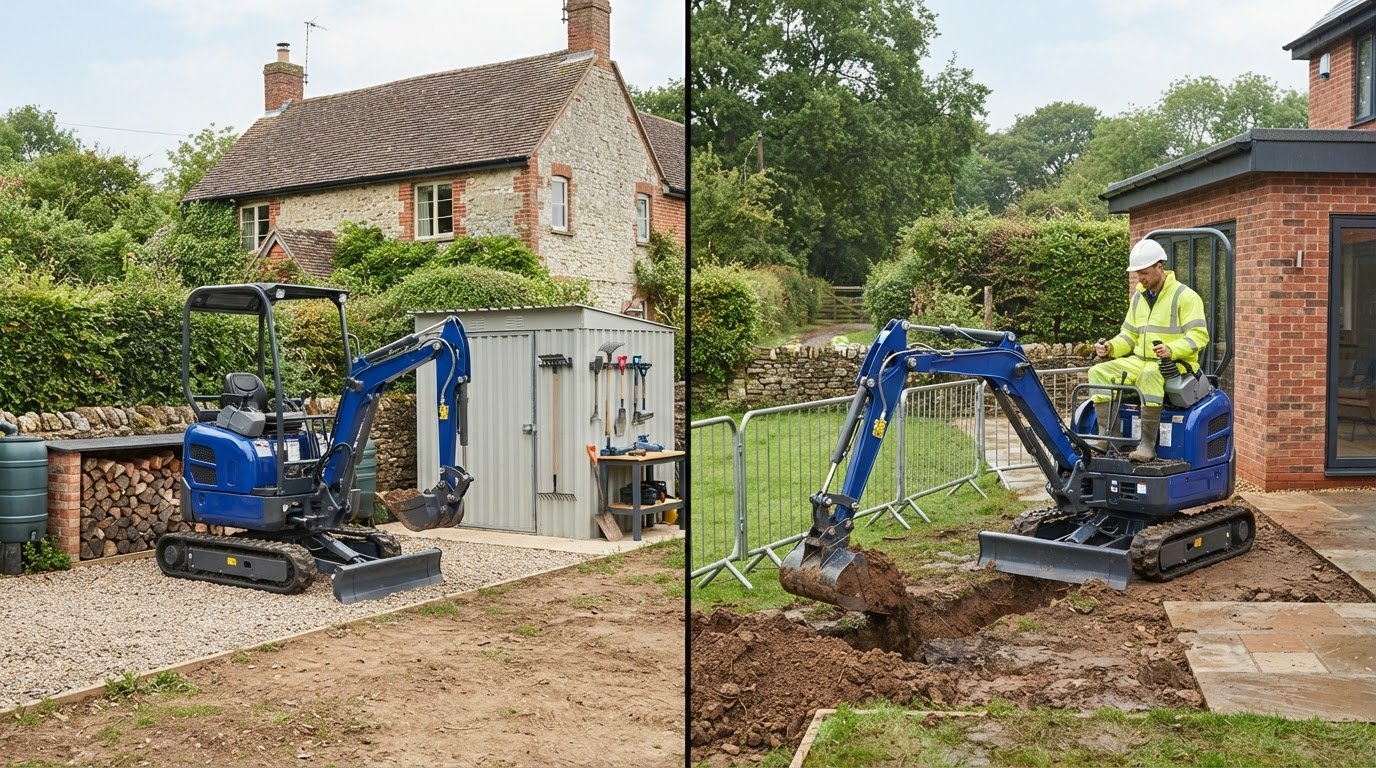
Choose a bucket for the taskIdentify the work first: trenching, earth removal, material handling or finishing. A digging bucket can suit drainage and irrigation trenches, utility runs, patio foundations and pond excavation. In heavy clay, a narrower trenching bucket can be more efficient than a wider general-purpose bucket. In loose sand, choose a bucket suited to lighter material rather than assuming the same design will work equally well in compact ground.
Use tilt buckets for precise shapingChoose a tilt bucket when shaping pond slopes, embankments or ditches. Its angled cutting edge helps form contours without repositioning the excavator for every pass. This can reduce machine movement during landscape grading and support a more controlled finish. For a pond bank, work along the slope in steady passes, then refine the contour with the bucket rather than removing large volumes of earth.
Match bucket width and weight to the excavator’s lifting capacity, working reach and task. A wider bucket can move more material across a broad area, but may be less suitable for a narrow utility trench. Consider the ground too: a bucket that fills easily in loose soil may be less efficient in compact clay. The machine and bucket need to work together, not just fit at the coupler.
Use a grading bucket for landscaping or finishing when a smooth surface matters. Its wider profile suits levelling and spreading material after bulk earth removal. For example, finish a garden area with controlled passes instead of trying to create the final surface with a narrower digging bucket. Choose a ditch-cleaning bucket for levelling or water evacuation, where its greater width helps cover the channel.
Choose a riddle bucket when the soil contains stones or unwanted debris. Its spaced bars let smaller soil pass through while retaining larger rocks and material. This allows you to sieve and clear debris in the same operation, rather than relying on hand-sorting after excavation. A skeleton bucket can also separate stones and aggregates, including in water, and help recover soil.
For pond shaping, separate bulk digging from final contouring. Use a suitable digging bucket to remove earth, then a tilt bucket to shape slopes and edges. If the excavated material contains stones, a riddle bucket can separate them from recoverable soil. Matching each stage to the right bucket helps manage material and improve productivity, without expecting one attachment to do every task.
Using augers to drill holes for fence posts and planting
Choose an auger for vertical drilling, not for digging trenches or breaking material. Match its specifications to the excavator and the holes your project requires.
Define the hole’s purpose before selecting an auger. Excavator augers can drill holes for fence posts, tree planting, signposts and light foundations. For a fence line, consider the post installation task and the ground the auger must penetrate. An auger is designed for vertical drilling, so it won’t replace a bucket for trenching or a breaker for demolition.
Match the auger to the excavator’s operating weight and hydraulic specifications. Compare the required hydraulic flow and pressure with the machine’s available output. Also account for lifting capacity, coupler compatibility and the auger’s weight. These factors work together: the machine must carry the attachment and supply the hydraulic power it needs to drill effectively.
Choose an auger design to suit the intended hole and ground. Its corkscrew shape rotates downwards, cutting a vertical hole and lifting loosened material towards the surface. This can help keep post or planting holes cleaner than digging each one with a bucket. Ground conditions affect how the auger advances, so don’t treat every site as identical.
Mark out each drilling position before starting work. For a fence, mark post locations along the planned line; for planting, position holes where each tree will sit. Keep the auger vertically aligned as it enters the ground. A consistent approach helps produce orderly holes and reduces the need to correct their position afterwards.
Keep augers effective with routine maintenance. Inspect the attachment regularly, lubricate it as required and replace worn components when needed. Pay attention to wear on the working end, since damage can affect how it cuts into the ground. Proper maintenance, combined with the correct hydraulic specifications, can help a quality auger last many years.
Plan separate attachments for drilling and other site tasks. An auger drills vertically for posts, signs, planting or light foundation work. A mulcher processes brush and dense vegetation horizontally, while a hydraulic breaker tackles hard materials. Match each attachment to its working action rather than expecting one tool to cover drilling, vegetation clearance and demolition.
Before bringing an attachment to a work area, identify whether the next task needs a vertical hole or vegetation processing. Fencing, foundation piles, sign installation and tree planting are auger applications; vegetation processing requires a different attachment design. Keeping those purposes distinct helps avoid treating a drilling tool as a general-purpose implement. An auger creates a hole, while a mulcher processes vegetation horizontally.
For hole-making, the auger’s corkscrew form is central to the result: as it spins downwards, it makes a clean-cut hole and reduces mess. That makes it useful wherever a defined hole is needed for a post, pile, sign or tree. Plan attachment changes around the task, using the auger for vertical drilling and a mulcher for horizontal vegetation processing. This keeps the tool choice aligned with the direction and purpose of the work.
Choosing an attachment by application
Start with the material you need to move, break, compact or clear. Selecting by application helps you build an attachment set around the site’s actual tasks.
For demolition, match a hydraulic breaker to hard materials such as concrete or rock. It uses the excavator’s auxiliary hydraulic system to deliver repeated impact. If the job involves reinforced concrete, don’t assume a standard breaker will provide enough force. Check the attachment’s flow and pressure requirements against the machine before work begins.
For trench and road work, consider a compactor when soil stabilisation or trench compaction is required. A compactor applies force to the ground through the attachment, helping consolidate soil in the working area. Choose it for compaction, not for moving spoil; a bucket is designed for excavation and material handling.
For recycling or site clearance, match a grapple to the material being handled. Grapples can grip and move bulky waste, branches or mixed materials that are awkward to collect with a bucket. At a recycling centre, a sorting grapple can handle aggregates, iron and waste. Check that the attachment’s grip and capacity suit the material and excavator.
For dense vegetation, choose a mulcher rather than an auger or bucket. A mulcher processes brush and trees by grinding organic material into mulch, making it suited to vegetation clearance. An auger drills vertically, so it serves a different purpose. Choosing the correct working action helps prevent delays caused by using an attachment for the wrong job.
For hard ground, use a ripper tooth to penetrate and break difficult material. Its shorter radius than a standard bucket can increase digging effort. It can also help loosen soil or remove stumps. For roots, rubble and surface debris, a land rake can sort material, clear roots and smooth dirt or gravel.
For finishing work, choose a grading beam to level loose materials such as stone or type 1 MOT, or prepare a pathway. Its wider working edge can cover more ground than a standard grading bucket. Select it when the task is broad levelling, not narrow trenching or bulk excavation.
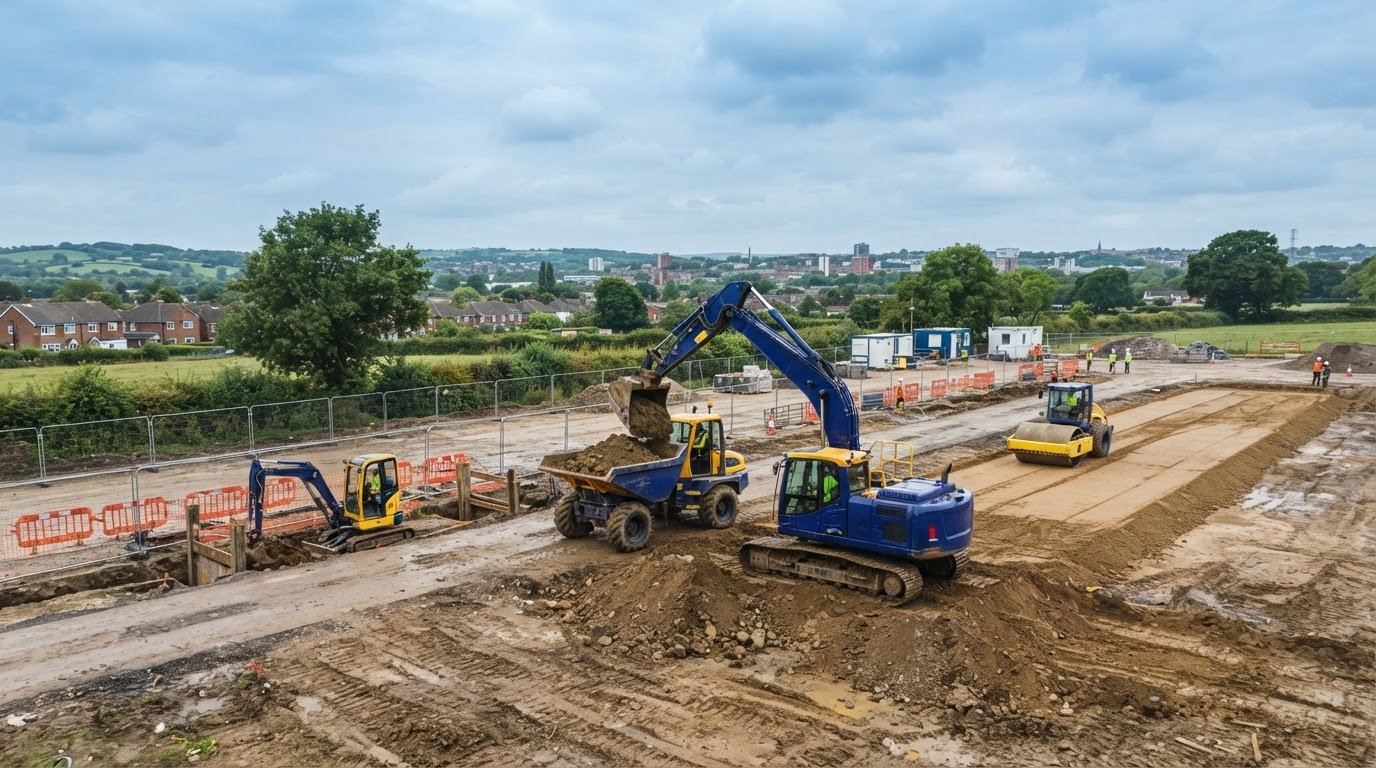
Plan the attachment sequence for the whole project. For example, an excavator may use a breaker for demolition, a compactor for roadwork, a screening bucket for separating material, and a grapple for handling it. If you’re selecting attachments for upcoming site work, explore excavator attachment options to plan a setup around the applications involved.
Rocket Rentals: Mini Digger Hire
Rocket Rentals Ltd offers mini digger hire, excavator hire and excavator attachments for projects requiring suitable plant and equipment. Plant hire is available on a weekly basis, helping you plan the hire period around your project’s work stages.
Rocket Rentals Ltd also provides roller hire and welfare unit hire for construction and site requirements. If you’re planning digging, drilling or demolition, consider the machine and attachment needs alongside your hire period. Contact Rocket Rentals Ltd to discuss equipment that suits your project.
Plan your next site move with confidence
Before work begins, turn your attachment choice into a practical sequence for the site. Note the order of tasks, where each machine will work and how materials will move between stages. This helps you plan changeovers and keep the equipment aligned with the work as it progresses.
A clear plan also gives you a useful basis for discussing the job. Explain the task, terrain and intended finish, then consider how choosing the right excavator attachment fits into the full working sequence. If site requirements change, revisit the sequence rather than continuing with equipment that no longer suits the next stage.
For your upcoming project, Rocket Rentals can help with plant hire options suited to your equipment needs. Contact Rocket Rentals to discuss your requirements and take the next step towards a well-planned job.
Frequently Asked Questions
What types of excavator attachments are available and what jobs are they used for?
Common excavator attachments include buckets, augers, hydraulic breakers, grapples, compactors and grading tools. A bucket moves earth or shapes the ground, while an auger drills holes for posts or planting. Breakers tackle hard materials, grapples handle bulky items, and compactors work on soil. For example, a site preparing a pathway may need a bucket for excavation, followed by a grading attachment for the finish.
How do I match an excavator attachment to the machine's weight, hydraulic flow and pressure?
Compare the excavator’s operating specifications with the attachment’s requirements before fitting it. Use the machine handbook or specification plate to identify operating weight, lifting capacity, hydraulic flow and pressure, then compare these with the attachment data. Also account for the coupler and the attachment’s weight at working reach. For example, a breaker that matches the hydraulic flow may still be unsuitable if its weight exceeds the machine’s capacity.
Which excavator attachments are best for digging, breaking, grading and demolition?
Use a digging bucket for earth removal, trenching or foundations, and a grading bucket or beam for levelling and finishing. An auger suits vertical holes, such as fence-post positions. For breaking concrete or rock, choose a hydraulic breaker matched to the excavator. Demolition involving reinforced concrete may need a breaker with suitable force for the material. Choose according to the specific task, ground and required finish.
What UK safety rules and inspection requirements apply to excavator attachments and quick hitches?
Before use, inspect the attachment, pins, locking mechanism, hydraulic connections and hoses for visible damage or wear. Confirm the quick hitch has secured the attachment, then follow the machine and attachment operating instructions. Keep inspection and maintenance records in line with your site procedures, and remove damaged equipment from use until assessed. These checks help identify poor fit, leaks or locking faults before work starts.

Comments