
How to Compact Soil Correctly for Firm, Stable Ground
The firmest ground isn’t always the best ground. Knowing how to compact soil correctly means spreading and firming it in even layers, with a hand tamper or plate compactor suited to the area and the job. The aim is stable ground without squeezing out too much pore space: healthy soil is made up of half pore space.
When preparing a base, it’s natural to focus on making the ground feel solid underfoot. But excessive compaction can restrict the spaces that let air and water move through soil, which matters when preparing an area for plants.
This guide explains what compaction does, what causes it and how to avoid common mistakes. You’ll learn how soil moisture affects the result, how to compact in layers, and when a hand tamper or plate compactor is the practical choice.
Table of Contents
Effects on soil structure, moisture and warming
Soil moisture affects how readily particles move together under pressure. Follow these steps to assess conditions, add water carefully and protect soil structure.
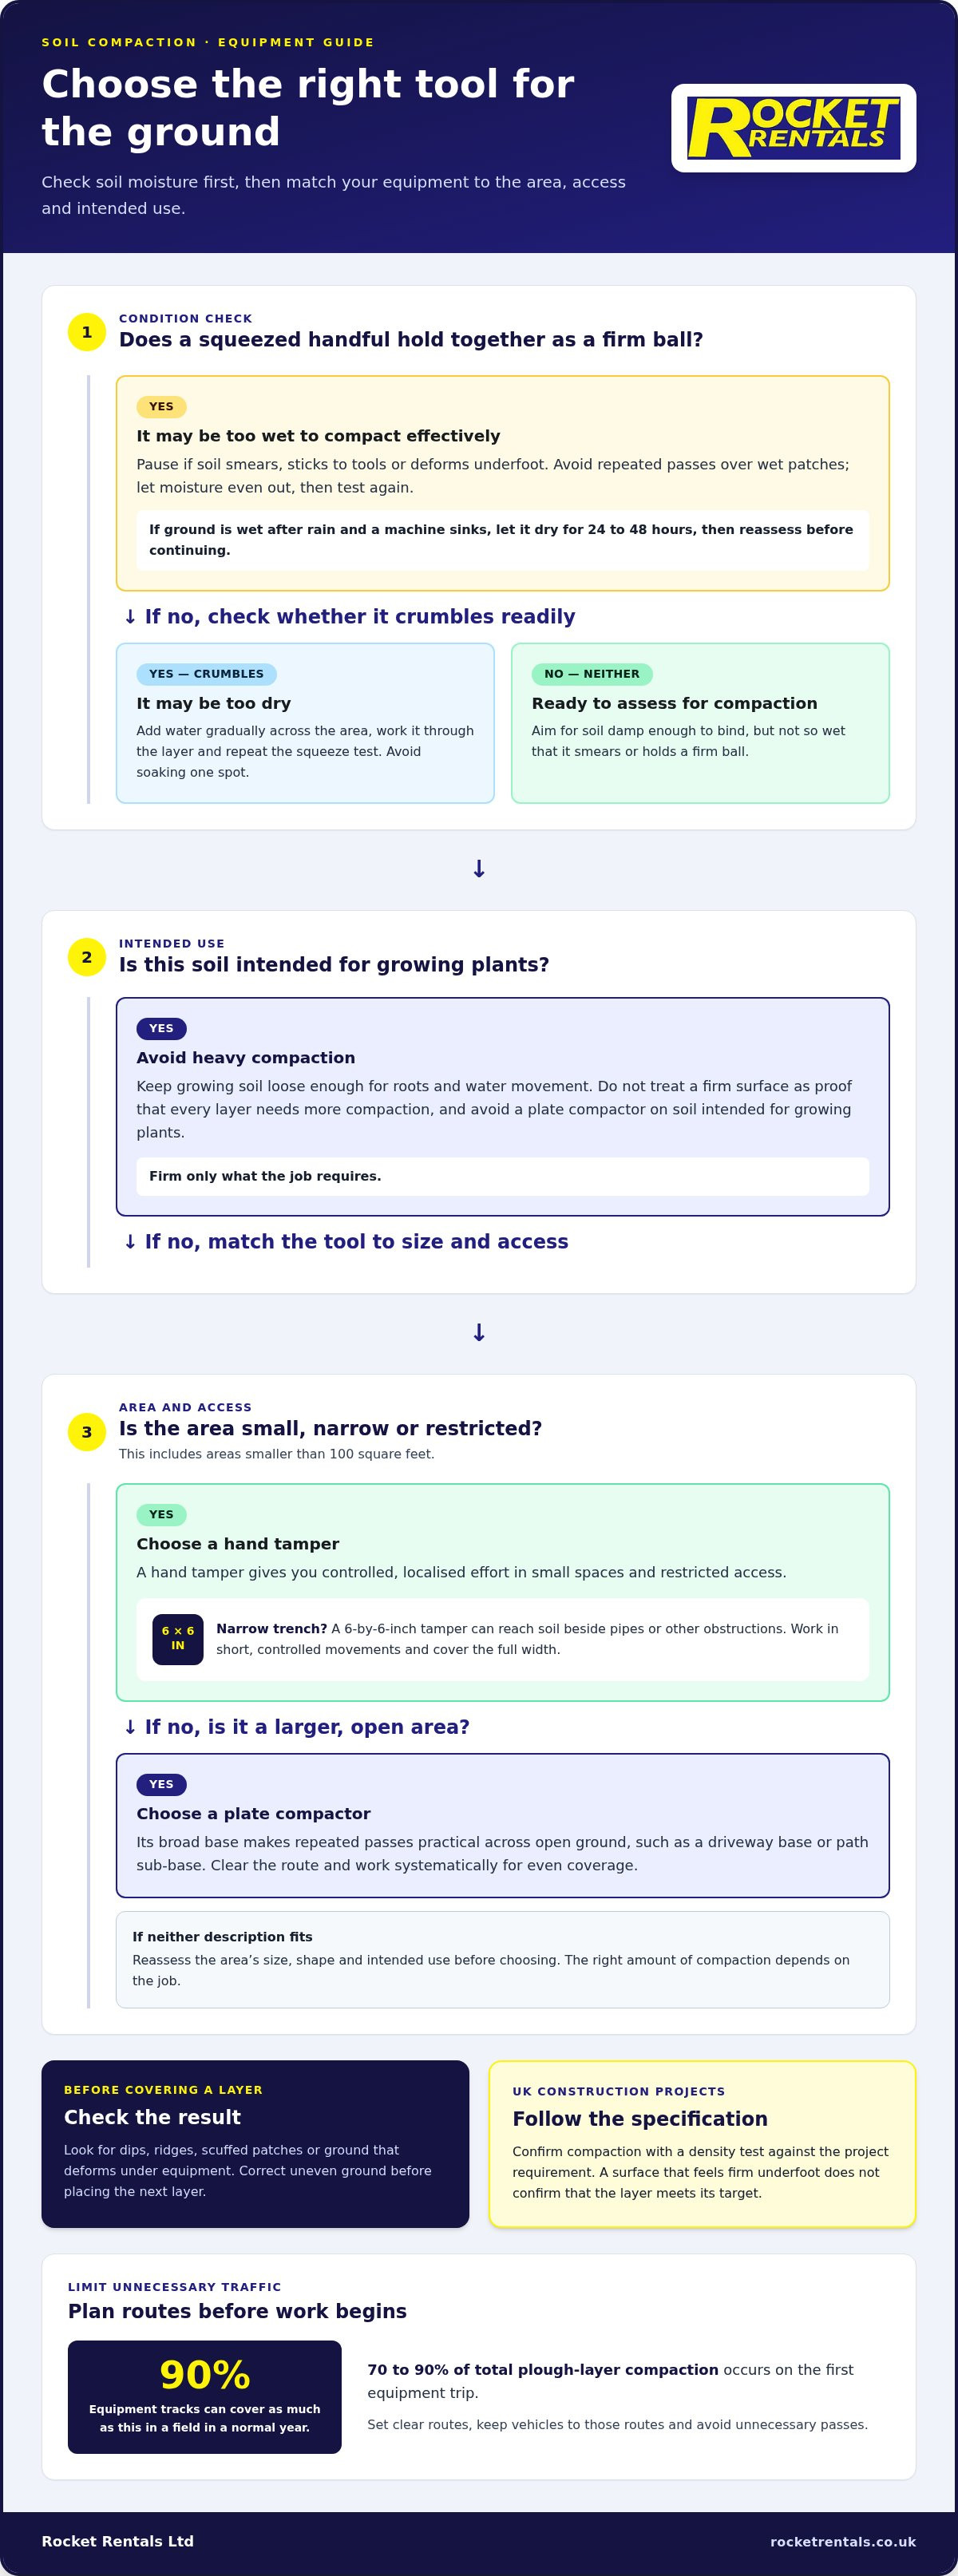
Check soil moistureTake a handful of soil from the layer you plan to compact. Squeeze it firmly, then open your hand and inspect the shape. If it holds together as a ball, the soil may be too wet to compact effectively. Avoid digging or tilling it in this condition. If it crumbles readily, it may be too dry for effective compaction. Check several spots, as shaded edges and exposed areas can have different moisture levels.
Add moisture as neededIf the soil is dry and loose, add water gradually across the area rather than soaking one spot. Aim for moisture within a couple of percentage points of the soil’s optimum moisture level. At this level, particles can move into a closer arrangement under compaction. Work the water through the layer, then repeat the squeeze test. Adding more water before it spreads evenly can leave wet patches beside dry sections.
Manage moisture while workingStart compacting when the soil is damp enough to bind, but not so wet that it smears or holds a firm ball. Recheck the surface as you work, especially if conditions change or you’ve added water. If soil starts sticking to tools or deforming underfoot, pause and let the moisture even out. Avoid repeated passes over an already wet patch: pressure can squeeze out air and make the structure denser than intended.
Keep the soil’s intended use in mind. Compaction presses particles closer together and reduces the spaces between them. Those pores provide routes for air and water, so excessive pressure can restrict drainage and make it harder for roots to move through soil. In a planted area, don’t treat a firm surface as proof that every layer needs more compaction. Firm only what the job requires, and keep growing soil loose enough to support roots and water movement.
Consider how moisture affects soil warming after rain or watering. Wet, compacted soil has less open pore space for air and can remain cool while excess water drains slowly. This can delay planting preparation compared with a well-drained layer. Check the surface and the soil beneath it, not just the top, before adding water or continuing compaction. If the lower soil is still wet, more water on the surface won’t correct the underlying condition.
Avoiding common compaction mistakes
For UK construction projects, follow the job specification and confirm compaction with a density test against it. Avoid compacting soil that is saturated after rain; if a machine sinks, let the ground dry for 24 to 48 hours before continuing. In gardens, avoid heavy compaction where soil is intended for growing plants.
Use relevant testing methodsFollow the project specification for compaction testing, then compare the completed soil with its stated density requirement. A surface that feels firm underfoot doesn’t confirm that the layer meets the target. If the result falls short, review the material, moisture and compaction method before continuing. Record where you took tests so low results can be traced to a particular area or soil layer.
Avoid compacting in unsuitable conditionsPause after heavy rain if the ground is wet enough to deform under equipment. If the machine sinks, wait 24 to 48 hours, then reassess the soil before restarting. In a garden, avoid using a plate compactor on soil intended for growing plants. The Lawn Man advises against using a wacker plate on growing areas, where excessive pressure can work against healthy soil conditions.
Limit repeated traffic across the same ground. In a normal year, equipment tracks can cover as much as 90 percent of a field, and 70 to 90 percent of total plough-layer compaction occurs on the first equipment trip. Plan routes before work begins, keep vehicles to those routes and avoid unnecessary passes. On a small site, this can mean setting a clear access path before moving materials.
Control roller vibration when turning and stopping. Switch vibration off before stopping, as vibration in one position can create a depression and damage bearings. Turn with vibration off, too, to reduce scuffing and shoving the material. Near unsupported edges or structures, start with static passes; use vibration only when the job specification allows it.
Check the result before covering a compacted layer. Look for visible dips, ridges, scuffed patches or areas that deform under equipment. These signs can point to uneven coverage, excessive moisture or unsuitable operation. For a concrete base, correct uneven ground before placing the next layer. Covering defects makes them harder to spot and may carry the problem forward.
Choosing between a hand tamper and plate compactor
Choose equipment based on the area’s size, shape and intended use. A hand tamper gives you control in small spaces, while a plate compactor covers open ground more efficiently.
Measure the working area and select the tool to match. A hand tamper is recommended for areas smaller than 100 square feet, where controlled, localised effort matters. For a small garden feature or a limited repair, it can firm soil without bringing a larger machine into a confined space. Check that you can reach every edge with consistent pressure.
Use a hand tamper for narrow trenches and restricted access. A 6-by-6-inch tamper suits narrow trench work because its compact plate can reach soil beside pipes or other obstructions. Work along the trench in short, controlled movements, covering the full width each time. Avoid striking nearby structures or services, as a misplaced blow can cause damage.
Choose a plate compactor for a larger, open area that needs even coverage. Its broad base makes repeated passes practical across a driveway base or path sub-base. Clear the planned route, then work systematically across the ground. Accessibility alone doesn’t make a plate compactor the right choice: soil type, moisture and the required finish still matter.
Compact each soil lift rather than trying to firm a deep fill all at once. With a plate compactor, make three to four overlapping passes over each lift. Overlap adjoining passes by four to six inches to reduce the chance of untreated strips. Keep each pass steady, and inspect the surface for ridges or soft patches before moving on.
Match the method to the material and purpose. A path base needs firm, even support, while soil intended for planting shouldn’t be heavily compacted. For a small repair beside a planted border, use the hand tamper only on the base area. Leave the growing soil outside that work zone undisturbed to avoid unnecessary pressure.
Check the result before making another pass. Look for uneven settling, loose edges or areas that still shift underfoot. If the surface appears level and stable, further compaction may add little and can damage soil structure. If a construction specification sets a density target, use the specified test rather than relying on appearance alone.
What soil compaction is and how it affects pore space
Compaction presses soil particles closer together, changing how air and water move through the ground.
Look beyond surface firmness and consider the soil’s pore space. Healthy soil is made up of half pore space, which holds air and water between particles. Compaction reduces those gaps and makes the ground denser. This can help create a stable construction base, but the same pressure can restrict root growth and drainage in a planted area.
Match the compaction method to the material. Clay is cohesive soil, so a pad-foot drum is suited to it. Sand and gravel are granular materials, which suit a smooth drum. These drum types apply pressure differently, so choosing a method suited to the material helps achieve a more even result across the layer.
Build up the ground in manageable lifts, rather than compacting a deep fill all at once. A compact roller effectively compacts only the top 6-12 inches, with the effective depth varying by material and moisture. For a small fill, adding soil in roughly 2-inch layers gives you a practical way to firm each lift before adding the next. Narrow trenches can also be compacted in 2-inch layers.
Check compaction against the job requirement, not appearance alone. Confirm the result with a density test against the job specification. On a larger area, use a test strip to establish the pass pattern before repeating it across the ground. Record the test location and result so you can address any weak section before another layer covers it.
Let the soil’s intended purpose guide the result. For a path or building base, aim for a firm, stable layer that supports what sits above it. For a lawn or planting bed, excessive pressure can remove useful pore space. Limit heavy compaction to the required base, and don’t carry the same treatment into soil that needs to support plants.
Inspect each completed lift before continuing. Check for uneven settlement, loose spots or a surface that shifts underfoot. If a density test fails the specification, review the material, moisture and pass pattern rather than simply applying more pressure. A roller’s effective depth and the soil type both affect the result, so adjust the method to the layer being tested.
How do you compact soil correctly step by step?
If you're planning how to compact soil correctly, work in sequence: prepare the ground, spread manageable layers, compact evenly and inspect each result.
Prepare the area before bringing equipment onto the ground. Remove vegetation, loose debris and material that doesn’t belong in the finished layer. Mark the edges and identify any slope or crown so you can plan the direction of travel. If the job has a specification, note its density target and testing requirements before starting.
Check the soil type and moisture, then choose suitable equipment. Smooth drums suit granular materials such as sand and gravel, while pad-foot drums suit cohesive soil such as clay. Soil that’s too wet can deform beneath the machine; dry soil may not bind well. Adjust moisture evenly before compaction rather than soaking isolated patches.
Spread material in even lifts instead of placing the full depth at once. A roller effectively compacts only the top 6-12 inches, with reach depending on material and moisture. For a small fill, use layers roughly 2 inches deep and firm each layer before adding another. A narrow trench can also be compacted in 2-inch layers.
Make a test strip to establish the pass pattern for the material. Granular material usually needs 4-8 roller passes to reach its target density, but the test strip helps identify what works on site. Keep the machine moving at a steady, controlled pace. Roller impact spacing should be 10-14 impacts per foot of ground.
Cover the full lift with consistent, overlapping travel. Overlap roller passes by roughly 10-30 percent of the drum width to avoid untreated strips. On a slope or crown, begin at the low or supported side and work inward. Switch vibration off before stopping and whilst turning, preventing depressions, scuffing and material movement.
Check the surface and test density before placing the next lift. Look for loose patches, ridges or local dips, then compare test results with the job specification. A roller’s effective depth varies, so don’t assume the lower part of a thick fill is compacted. Correct weak areas before covering them with more material.
Operate the plate compactor in line with its instructions. Allow its engine to warm for 2 minutes before using full throttle. Make three to four overlapping passes across each lift, overlapping each pass by four to six inches. This sequence shows how to compact soil correctly on a prepared site. Review the finished layer before starting the next one.
For ground preparation that needs plant equipment, explore equipment for your groundworks project.
Rocket Rentals: Mini Digger Hire
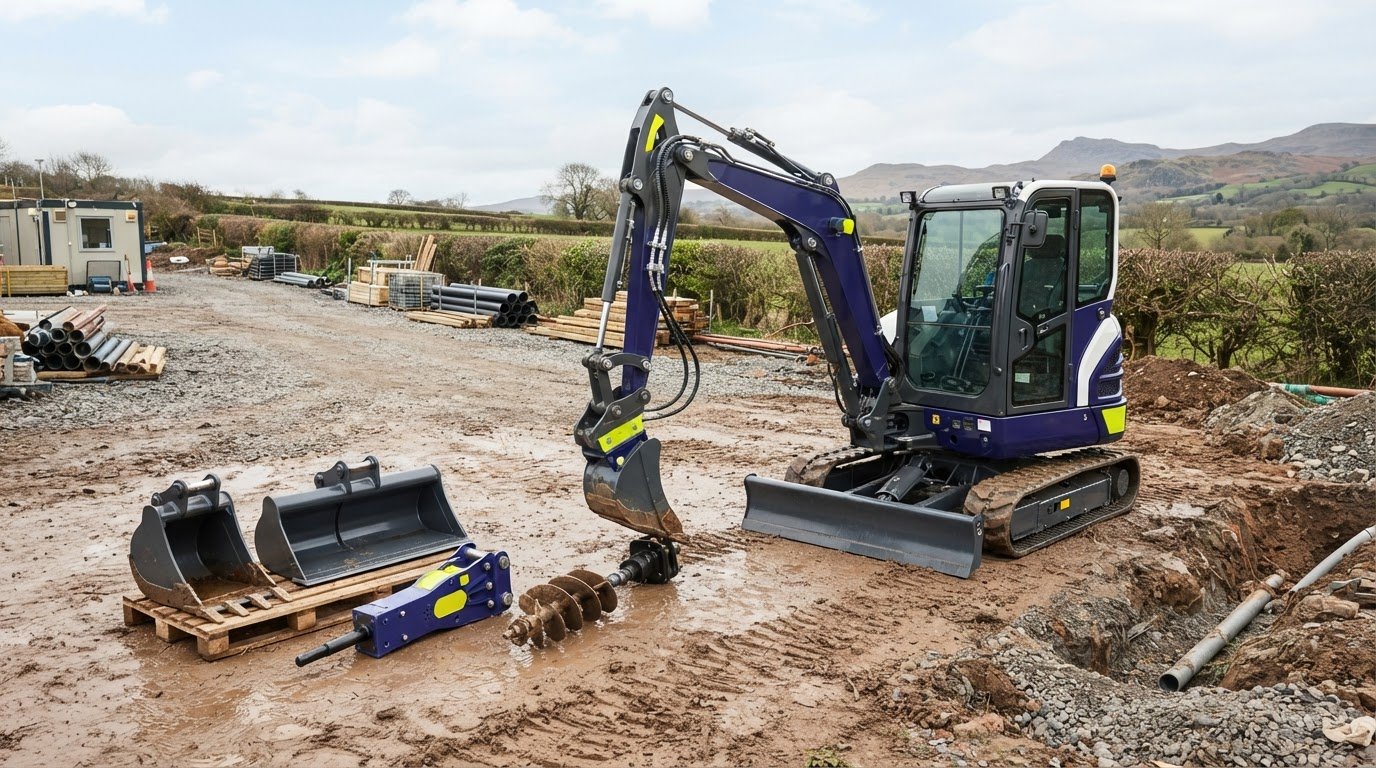
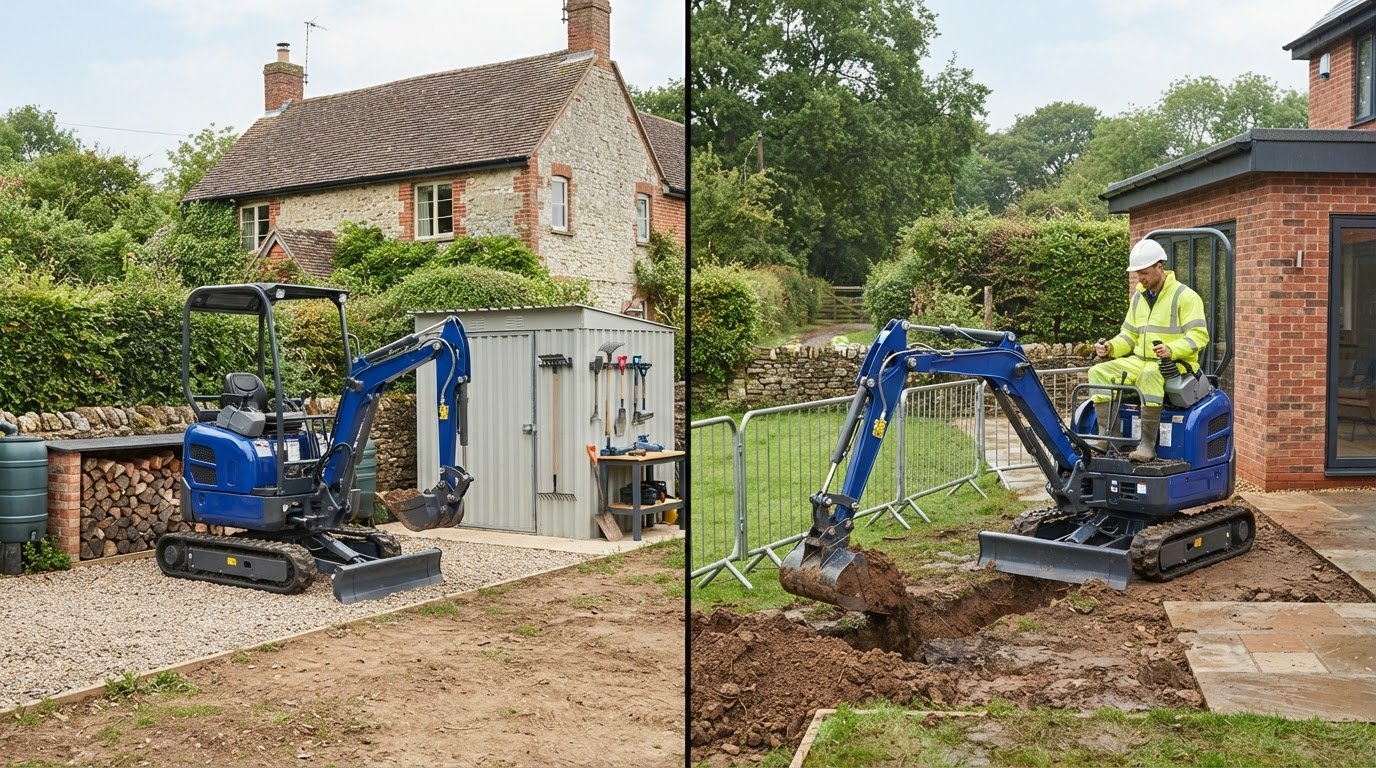
Rocket Rentals Ltd offers Mini Digger Hire for moving and spreading soil during ground preparation. A mini digger helps with excavation and material handling, while a roller compacts suitable prepared ground. These are separate stages, so choose equipment according to the task each machine needs to do.
For larger excavation work, Excavator hire may suit the project; Roller Hire is the relevant option for compacting open areas. Rocket Rentals Ltd places emphasis on equipment inspection, helping you plan your work around machinery examined for its condition.
Plan your groundworks with confidence
Before work starts, decide what the finished ground must support. A path, a building base and a planted area each need a different approach. Mark the working area, identify access routes and note where soil must remain suitable for planting. This gives you a clear brief for the equipment and work sequence your project needs.
Use that plan to turn guidance on how to compact soil correctly into practical decisions for your site. Separate tasks that involve moving material from those that require compaction, then organise the work so prepared ground isn’t disturbed unnecessarily. A clear sequence helps you manage the site purposefully and avoid extra passes.
Rocket Rentals Ltd can discuss equipment for ground preparation, including the machinery needed to move and prepare soil. Contact Rocket Rentals Ltd about your groundworks project and take the next step towards a well-planned site.
With a clear brief and a method suited to the finished ground, you can start your project prepared organisational goals.
Frequently Asked Questions
What is compaction?
Compaction presses soil particles closer together to create denser ground. On a building base, this can help support the material placed above it. In a planting bed, the same change may restrict space for air, water and roots. Consider the finished use before work starts: firm ground isn’t the right target for every part of a garden.
Do You Need a Plate Compactor or Hand Tamper?
Use a hand tamper for a small area or a narrow trench, and a plate compactor for a larger open patch. A hand tamper is recommended for areas smaller than 100 square feet; a 6-by-6-inch tamper can reach narrow trench sections. For example, use it beside a confined edge where a plate cannot cover the soil neatly, rather than forcing larger equipment into the space.
How Many Passes Should You Make?
Use a test strip to establish the pass count for your material and site conditions. Granular material usually needs 4-8 roller passes, but the test strip shows whether that pattern meets the target. Avoid adding passes automatically: compare the result with the job specification, then adjust the method if the test falls short. Soil type and moisture affect how effectively each pass firms the layer.
How Much Water Should You Use?
Add water gradually and spread it across the soil rather than applying a fixed volume to every job. The amount depends on how dry the material is, its type and how evenly water moves through it. For example, a dry patch may need more water than nearby ground that has retained moisture. Recheck the soil after watering and before compacting, so wet areas aren’t mistaken for ready ground.
What moisture level is best for compacting soil?
Aim for soil moisture within a couple of percentage points of optimum moisture. At this level, soil can compact effectively without becoming excessively wet or remaining too loose. Check a handful from the layer you’ll work on: soil that holds its shape when pressed into a ball is very moist and more vulnerable to compaction. Assess more than one spot if conditions vary across the site.
Which tools or machines are best for compacting soil by area and soil type?
Choose by material and access. Smooth drums suit granular sand or gravel, whilst pad-foot drums suit cohesive clay. For a small space under 100 square feet, a hand tamper offers controlled coverage; a plate compactor is suited to broader, open ground. In a narrow trench, a 6-by-6-inch hand tamper can reach soil more precisely than a larger machine.
How many passes should a plate compactor or roller make?
For granular material, begin with a test strip and expect 4-8 roller passes as a usual working range. A plate compactor calls for three to four overlapping passes over each lift. Keep adjacent roller runs overlapping by roughly 10-30 percent of drum width; with a plate, overlap each pass by four to six inches. These patterns help avoid untreated strips between machine runs.
What are the risks of over-compacting soil and how can they be avoided?
Overcompaction can reduce pore space, restrict the movement of air and water, and make root growth harder. Avoid heavy passes on soil intended for planting, and keep construction traffic to planned routes instead of driving repeatedly over the same ground. Stop once the required result is reached, using the job specification or density test where applicable. Don’t judge by firmness alone or continue without a clear purpose.
Comments